Turning Star Trek Online Characters and Ships into Star Trek Attack Wing Playing Pieces
PART 1 - THE SHIP
If you’re using the Attack Wing miniatures then this isn’t an issue as they don’t have registry markings on them and you just need to mark it clearly in other ways.
However, if you, like me, are using larger models then this is how I changed the markings.
The models I’ve been using are the ‘Round 2’ 1:2500 scale kits. I decided to use my own models after seeing the, shall we say, highly variable quality and scale of the official minis. I’d prefer 1:5000 scale models but as nobody produces them, I went with 2500 scale. I’m strictly a 23rd century man which is just as well as at 2500 scale later ships can get a bit unwieldy as you can see by the size of the Excelsior here:
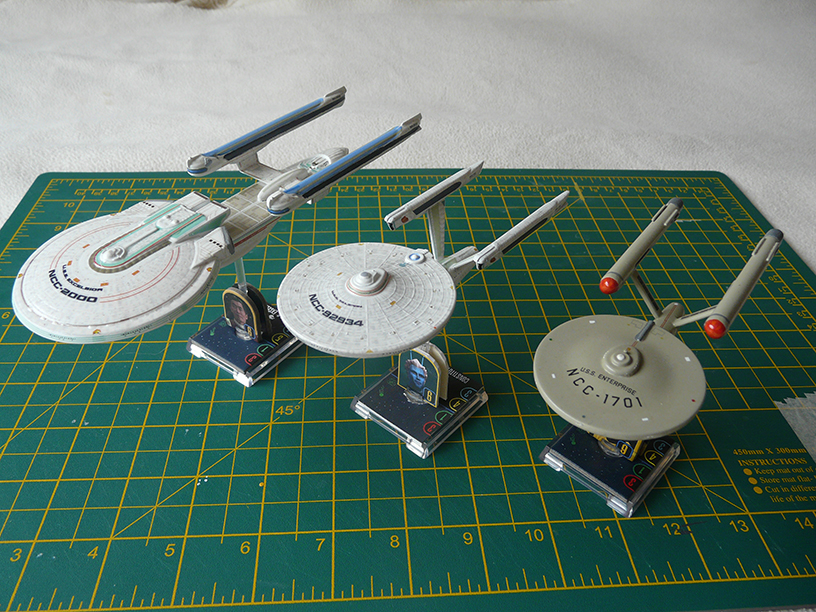
The nice thing about this particular set is that the registry markings come as separate decals from the hull panelling which makes it much easier to change.
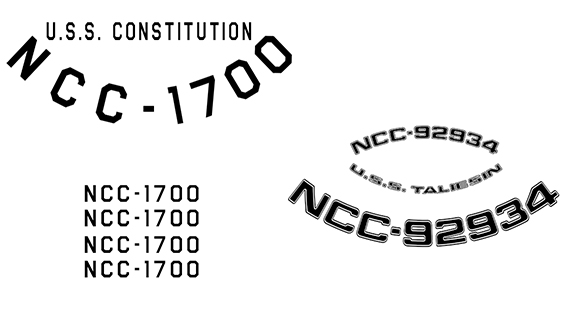
As I also have the Constitution Refit in the movie set (that also includes reliant and a movie D7), and as that one has the markings as part of the hull panelling,and as I don’t really want two refit Enterprises, I decided that this one would be named something else. I went through a variety of options before suddenly thinking that it would be cool if it was my refit from the Star Trek Online game. That one seems to have a sort of brushed steel finish like the NX-01 for some reason but it was more the registry that I was interested in replicating.
The Process
So, first thing I did was scan in the decal sheet at 600dpi. 300dpi is probably enough. That’s the standard professional print resolution but I figured some of the details are very fine and at 300dpi would still be very pixelated and difficult to replicate.
Once I had the sheet scanned in, I took it into Photoshop and cut out the registries and aligned them properly.
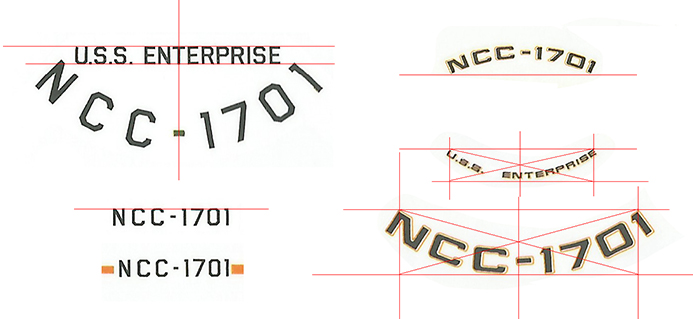
From here I was able to overlay the relevant text and adjust the size and spacing and use an arc text distortion to fit the size and shape of the original:
The fonts I used were free ones from the internet:
Starfleet Bold Extended - for movie registry
United Federation of Planets Regular - for TOS registry
Of course, if you just want to change the registry on the TOS Constitution then you can get a custom made decal sheet with a number of options from here:
http://www.jt-graphics.com/D_2500.html
Once I had the graphic done and I was happy with it, I copied it several times onto an A4 sized, 600dpi blank image in Photoshop. I copied it several times so that I had spares in case anything went wrong (which it did). I then printed it on to Inkjet Water-Slide Decal Paper. There are a variety of brands available from a variety of places. The one I specifically used was this one from Crafty Computer Paper:
http://www.craftycomputerpaper.co.uk/.-Inkjet-Water-Slide-Decal-Paper_151.htm
Once printed, you give it a light coat of clear acrylic. I use Humbrol’s ‘Crystal Clear’ in a spray can but I think any clear acrylic will do it (a lot of modellers actually use Klear floor polish!). I’d avoid a matt varnish, though as it tends to leave a milky sheen desaturating the colours and lowering the contrast of your printed decals.
This done, you can cut out the decal quite close to the actual printed image, dip it in water and apply it to the model as you would normally a wet-transfer decal on a model kit. If the ink starts to run then apply another coat of clear acrylic to the rest of the sheet and try again (remember to have multiple copies of your decals on the sheet for this reason). I have yet to experience water damage to printed decals even with a very light spray coat.

PART 2 - THE CARD
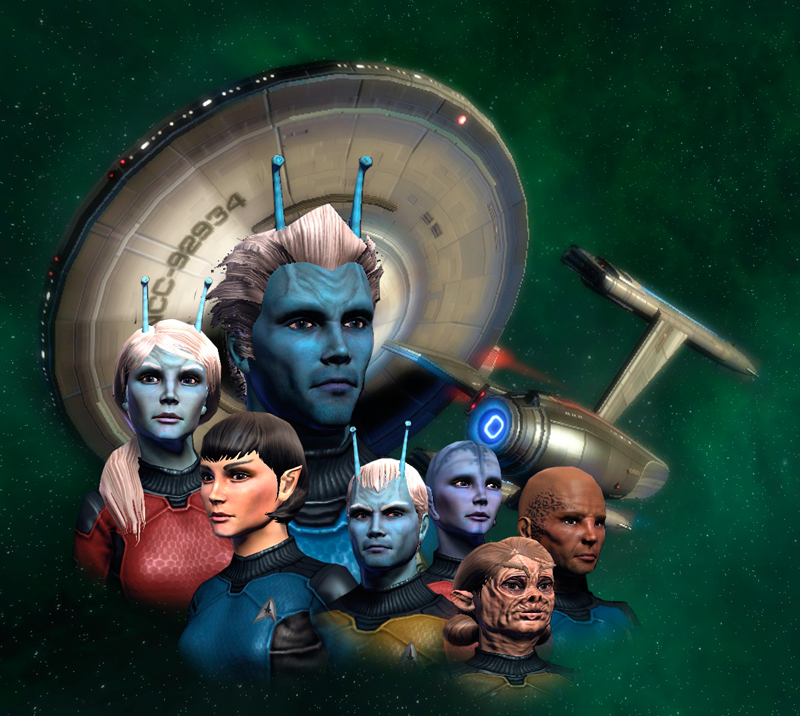
This was the easy bit. I already had a fairly large screengrab of my STO Captain that I use as forum avatars:
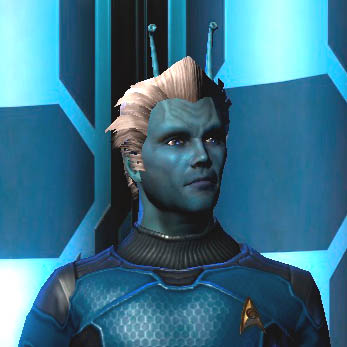
I don’t feel qualified or experienced enough in the game to invent rules, so I decided to simply redress an existing card. As my captain is a Science Captain, I decided that Captain Spock from the Constitution Refit expansion would be ideal. So I scanned in the Spock Card at 300dpi, increased the contrast as the scan was a little grey and washed out and then fit my character’s image over the top of Spock:
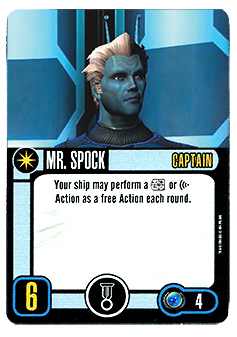
Next I used a black gradient fill that transited between opaque and transparent on a small area to blend between the graphics and the image as the official cards do and had to erase a small part of it to stop it covering over the circular symbol on the top left:
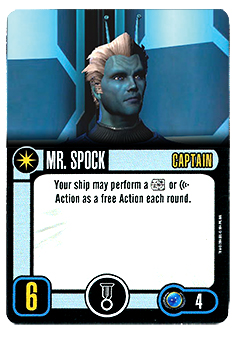
Finally, I placed a small black square over Spock’s name and used a similar font to write in my character’s name.

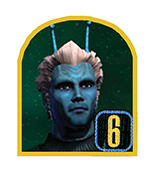
Done. For the Captain Tokens I did a similar thing in that I scanned in a Captain Token at print resolution (300dpi) and placed my character’s image over it, erasing any part of my character's image that overlapped the token and also the area that covered the number. I also applied a ‘Stroke’ layer effect to create the yellow outline:
No comments:
Post a Comment