After much sanding, filling and spraying, the sword was finally smooth and clean and ready for painting:
I began by masking off the blade and the hilt and spraying the crossguard with a matt black:
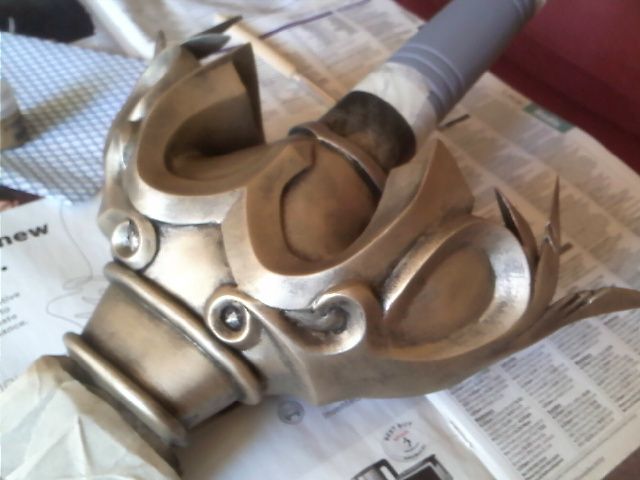
I then set about dry-brushing it with Games Workshop Golden Griffon
Drybrush paint. Not only is it specifically designed for drybrushing it
was also exactly the shade of gold I wanted. Result!
Next I masked off the crossguard and sprayed the blade with Halfords'
Chrome enamel spray. On my Bat'leth I used Plasticote chrome which
really looked like metal (to the extent that some folk, even on close
inspection, thought that it was metal!). However I had a nightmare with
it because it doesn't really appear to harden, meaning that you really
shouldn't handle it - not good enough for a cosplay prop. So I thought
I'd try out the Halfords stuff and it appears pretty good. It's not
going to fool anyone up close but that's not really a deal breaker.

Next was the hilt. Now this was a nightmare simply because there really
is no reference for it. Every shot of the damned thing is covered up by
the character's hands. The only clear shot of it is in the plans where
it's a sort of strawberry icecream pink and I'm really not convinced
that's the colour it's supposed to be. You can see a glimpse of it in
one of the original ref pics I had and although it's only a coupld of
pixels, it appears to be a sort of grey-brown:
In the end I went for a red-brown. It was richer and slightly darker
than the ref appeared but I felt that the red complimented the hearts
and went with the gold better.
Finally I painted a dark brown into the grooves of the hilt and
varnished over it to afford it a bit of protection from handling.
I then mixed up a hot pink using Tamiya gloss red, yellow and white and
painted in the 'heart' inlays on the blade. The pink tip on the pommel
was a bit of artistic license but I felt it balanced out the pink on the
blade.
The finished sword can be seen in
the first post.