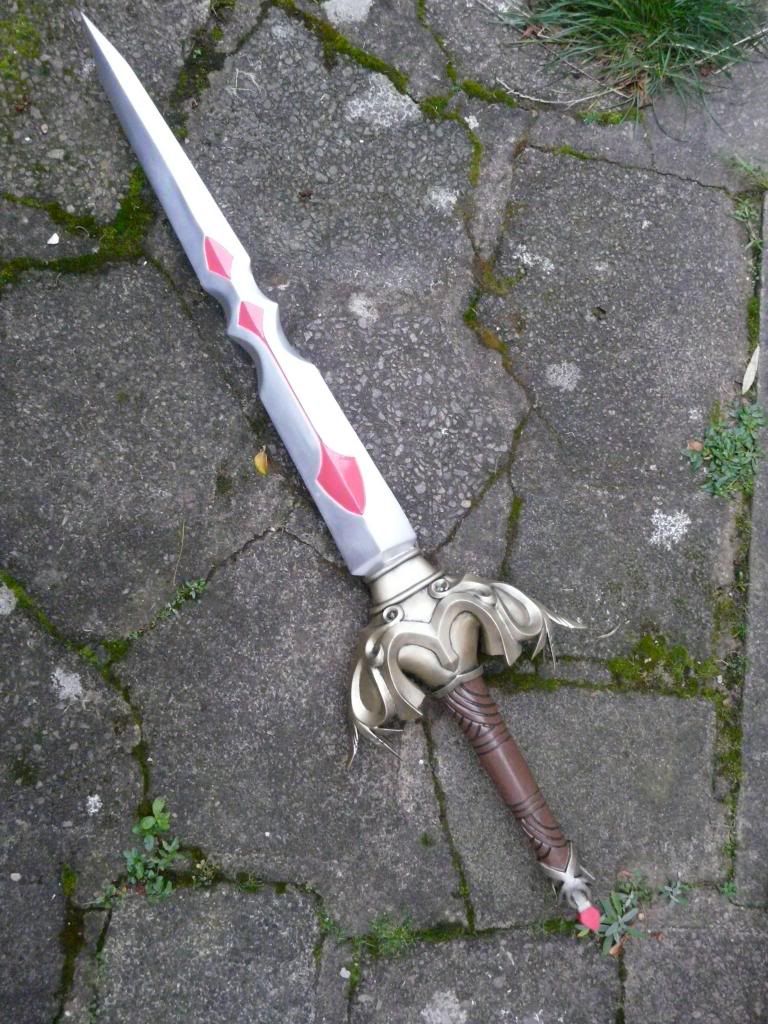
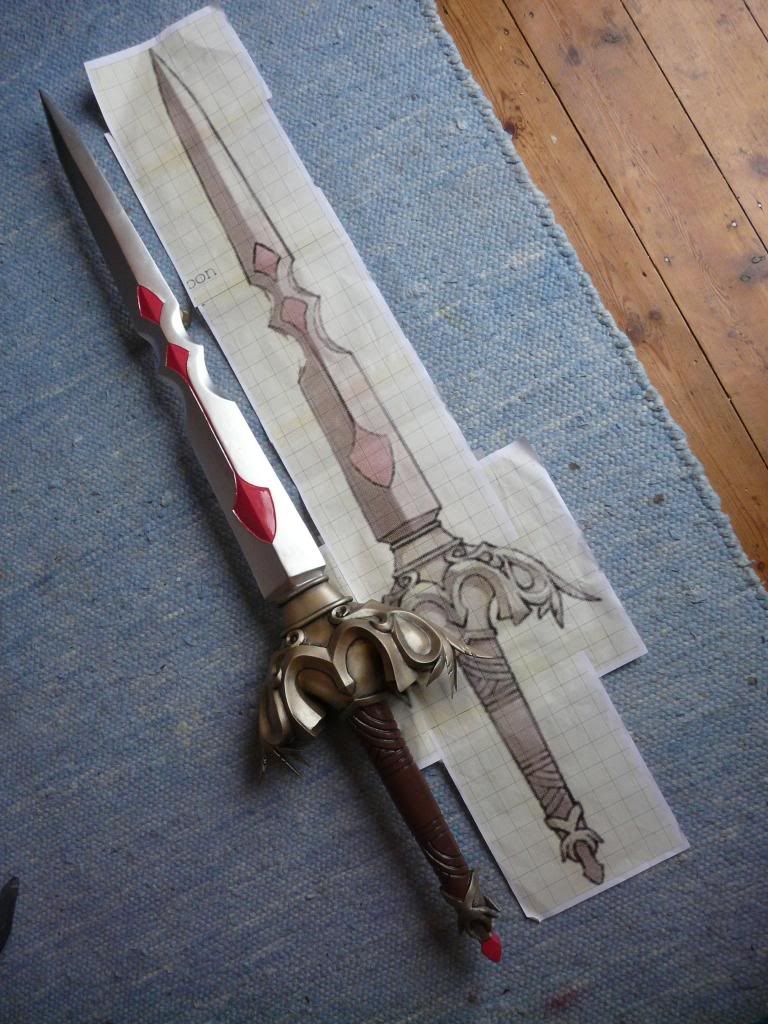
It's just aswell because, despite googling, images of this sword are few and far between. Another colleague was able to help out but this is the grand total of our efforts:
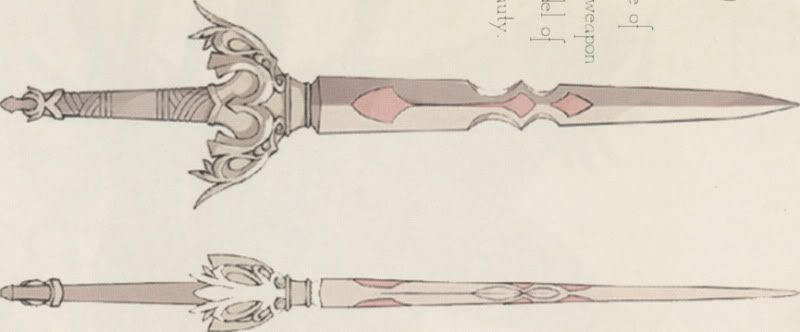


There were a couple of fan made props to see as well of varying quality, but none particularly accurate.
Fortunately the plan from the art book is pretty much all I need and the elevation doesn't contradict it too much which is a bonus (and surprising too, considering it's hand drawn!).
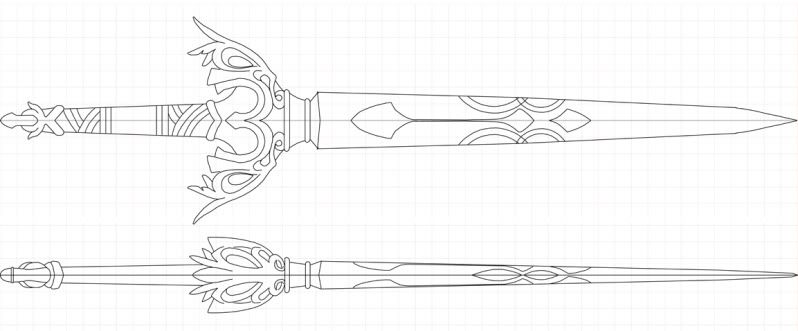
The scale was a bit of a struggle. In the full size image of the character it appears to be about the same height as her, maybe a little shorter as she's hunched, which is going to make it somewhere between five and six feet. However, the crossguard at that scale seemed way over the top, as did the hilt. Considering that Sally is only around 5 feet, I opted for a four foot sword that gave the crossguard and hilt a much more credible scale and Sally agreed too as she'll probably need to be lugging it around. I blew the Art book plans up to 4 feet in Photoshop and drew these plans over it. Drawing one half and then mirroring for perfect symmetry:
I decided to make the blade and tang as one piece. Then sculpt and cast the crossguard pieces, fitting them around the tang and finally either sculpt and cast the hilt or hand carve them depending on whether there was enough (or any) silicone and resin left.
So, first up was the blade. By sheer coincidence, a four foot sheet of 9mm MDF cut into exactly the right number of strips to give the exact width and thickness of the blade:

I cut four of them shorter than the other two. The longer two providing the tang. I then glued them together with wood glue, put heavy weights on them and left them overnight:
First thing I needed to do was saw the taper into the flat of the blade, then from that, cut out the blade's silhouette before finally cutting the edge into the blade. Because the lengths of MDF weren't all exactly the same width, the edges were uneven so I skimmed a layer of polyfilla over the sides using a large L-square to make sure the edges were flat and at a perfect right angle to the flat of the blade:
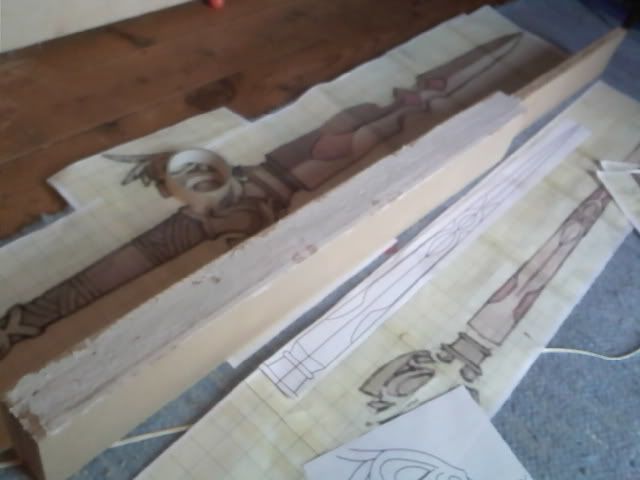
I printed out the sword elevation, taped it to the edge and prepared to cut:

...and that's when things went wrong.
I needed something that could cut with a depth equivalent to the width of the blade. I couldn't find a jigsaw blade long enough and anyway, this was probably way too big a job for a humble little jigsaw. I couldn't afford to buy or hire a table saw so I was stumped. It looked like I might have to do it by hand. Then it struck me. A circular saw. It still didn't have the depth but it didn't need to and it was much more suited to the size of the job. I bought myself a cheap one and set to work (in retrospect, I might have been able to hire a table saw for the price of the circular saw, I didn't look, and anyway it would have been awkward. Also, I have a circular saw now). If I ever do this again
I reasoned that if I kept the saw square to the block and cut both sides, the cut would meet in the middle.
Not even close.
I ended up with a total 'pig's ear' of a cut that was way off 90 degrees. After cursing myself for an idiot loudly for ten minutes, it occured to me that regardless of the mess I'd made of the flat, the edges were accurate and once the final piece was cut, there would be only a thin line of the ruined surface remaining anyway. If I skimmed the flat of the blade with polyfilla it'd allow me to do the other cuts. It's not the best substance in retrospect but it was what I had to hand in bountiful supply and there would be virtually none of it left when the the blade was finally cut. All it had to do was provide a flat, accurate surface so that I could cut the silhouette and finally the blade edge.
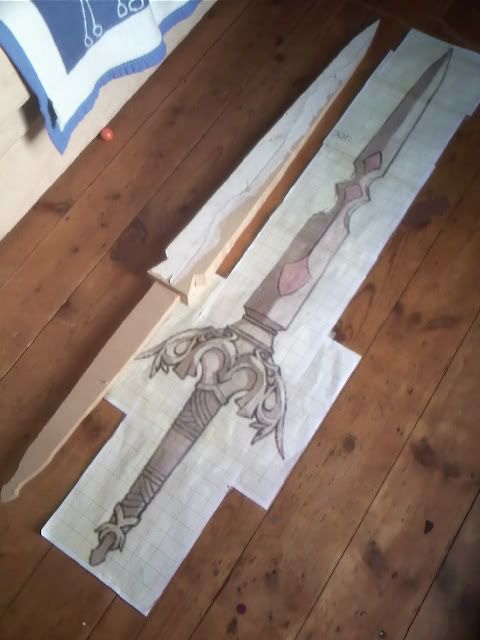
So I skimmed the polyfilla in, waited for it to dry, printed out the blade plan, taped it over and cut it out - this time with the jigsaw. It went a lot better. You can see here, in the image on the right, the half-polyfilla blade flat.
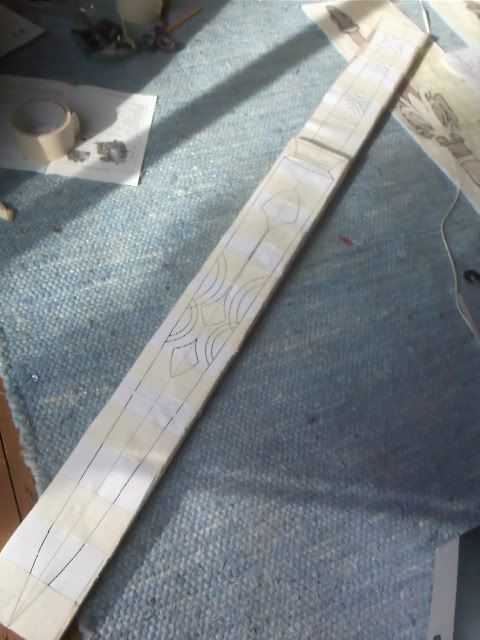
Finally by drawing a line down the centre and along the edge, I was able to very slowly and very carefully cut the edge into the blade. You can see here the end result with most of the polyfilla (which predictably crumbled, cracked and fell apart) removed. No matter. It had served it's purpose.

So with the shape cut, next came a lot of filling and sanding and filling and sanding and filling and sanding.
Then I needed to seal the MDF. Some research on the RPF boards suggested Shellac as the ideal sealant. The only Shellac product I could find in a store was this:
Zinsser Shellac at B&Q
I'm not sure it's ideal. It's sort of like a thin, matt white emulsion but it's designed for sealing and priming and it contains shellac so I gave it a go - five coats. It appears to do the trick but can prove useless on edges where sanding can reveal the MDF - I'm still getting tiny traces of 'fur' coming through. On the whole, it seems to have worked, though. Honestly, I read a lot of posts where folks recommend rare, expensive and dangerously toxic substances for sealing MDF. I don't see what's wrong with, say, wood varnish or PVA? Both are cheap fluids that MDF can drink as much of as it likes and when dry, provide an insoluable, sandable surface. Maybe I'm wrong. I'll have to test them.
Here's the blade covered in the Zinssler. You can see here, I've also started carving and building up the collar with P38 and I've marked in the decorative inlays on the blade.

Next was more filling and sanding and then cutting in the inlays.
In retrospect, it might have been better to have cut these out of styrene and glued them to the blade. It would have been a sharper, crisper edge and the inlay wouldn't require such awkward sanding. That approach might have provided it's own problems however, so it's 'swings and roundabouts', I guess.
I dug out some fancy lino cutting tools I have, which have proven effective on MDF before. However they seemed to struggle, chewing the MDF instead of cutting it - maybe not sharp enough. In the end I simply grabbed a Stanley knife, cut the shape (using a printed guide) and then cut in at an angle, removing the excess and creating a lip. This then required much sanding and filling to get the inlay to appear smooth (and, at time of writing still requires more).
Next I gave it it's first coat of grey primer then marking any 'dinks' with a pencil, set about filling and sanding and then eventually gave it another coat:

At this point I decided to give the blade a rest for a bit before it became a chore and start having a look at the crossguard.