Thursday, 11 April 2013

Remodelling the Suleiman 02

A quick and simple pass at procedurally texturing the afterburner. I say quick and simple, I've spent most of the day on it, predominantly trying to figure out how to get layered shaders to work with the Mental Ray renderer. I finally figured it out and put this together. It's a really simple spherical environment map blended with a standard 'granite' shader for rust. I did a quick automated UV mapping pass and then baked an Ambient Occlusion map to use as an alpha channel to blend the two. The idea being that the rust would sit in the recesses and the shiny chrome would be on upper, exposed areas and edges etc. It hasn't quite worked out that way but given how slapped together this is, I'm quite pleased with the way it looks.

I need to map the geometry properly to get a decent AO map from it that I can work into and make the distribution of the two procedural materials more realistic. I also need to work on the two procedural materials to make them a bit more convincing as well.


Something else I need to do is establish a texture scale. This is something I learned whilst working on Puss in Boots. It gives the textures on each surface a consistency and also gives you a fairly good uniform idea as to how close you can get to any given part of the model before it get's all soupy. The scale we used on Puss in Boots was, if I remember correctly, 512 pixels = 2 metres. Giving a pixel density of about 2.5 pixels per centimetre. That's pretty darn good but if the textures aren't tiled I'm going to end up with a load of VERY big textures which could get quite gruelling for the memory and the render times :/ I'll have to wing it, and I may well reduce the scale as I don't really ever intend rendering the ship up quite that close.

Wednesday, 10 April 2013

Remodelling the Suleiman 01

I'm slowly, very slowly remodelling the Suleiman Scout/Courier I modelled way back in about 2002-ish.


It's a ship from the Traveller RPG and at the time I was very proud of it.
I opened it up a year or so ago and was amazed at how poor it actually was on close inspection. Faceted, simplistic geometry and low res maps meant that it didn't bare close inspection at all! Even some of the modelling was futzed. It was an interesting lesson in what I've learned over the years but also made me want to improve it.

I've tidied the barrels and small crates in the cargo hold but I need to retexture them properly.
Today I have mostly been remodelling the afterburners.

You can see here the difference in the old and new.


The original was a fairly simple cylinder with depressingly few facets. On top of this I mapped a photoshopped photograph of the afterburner from a MIG fighter plane that a colleague had taken at an airshow. From that photo I also made a crude specular and bump map (I was still using bump maps instead of normal maps!!!).

It worked okay-ish in a reasonably small render, poor lighting and with heavy 'noise' over the top of the image as seen above, but as you can see from this render, stands absolutely no close scrutiny what so ever.

I hope that the new one, once textured will be far more convincing.

This image shows the Afterburners in place and also demonstrates how poor the texturing really was!


Sunday, 24 March 2013

Save the Queen Sword: 'From page to prop' pt6

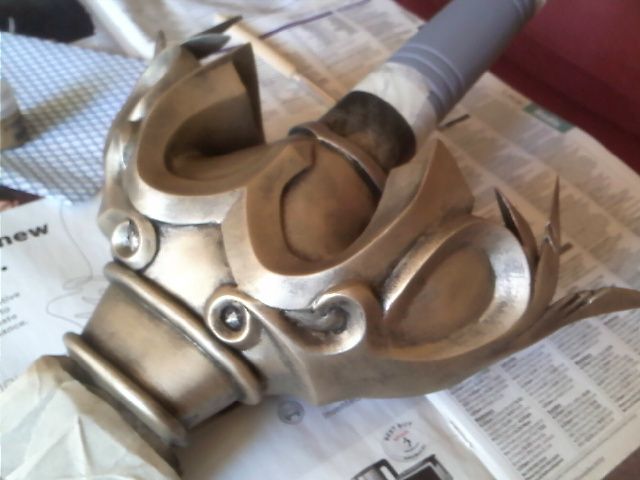
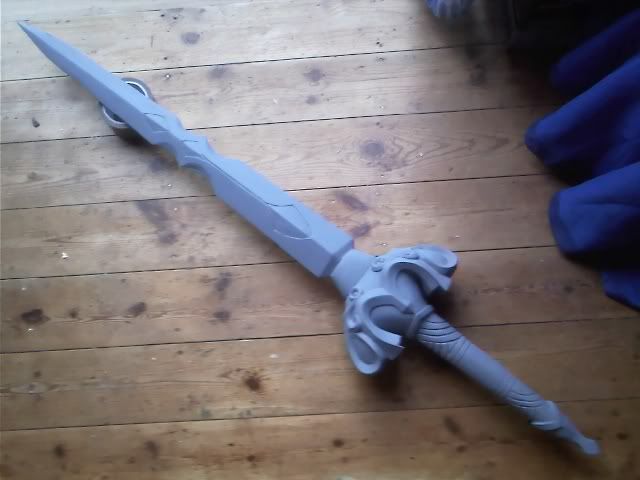
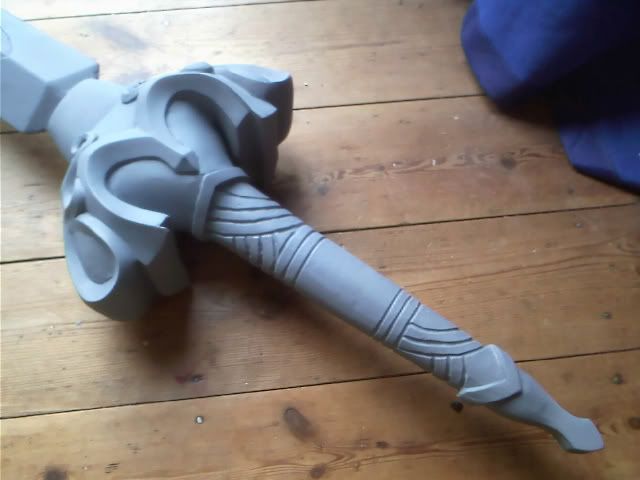
After much sanding, filling and spraying, the sword was finally smooth and clean and ready for painting:

I began by masking off the blade and the hilt and spraying the crossguard with a matt black:


I then set about dry-brushing it with Games Workshop Golden Griffon Drybrush paint. Not only is it specifically designed for drybrushing it was also exactly the shade of gold I wanted. Result!


Next I masked off the crossguard and sprayed the blade with Halfords' Chrome enamel spray. On my Bat'leth I used Plasticote chrome which really looked like metal (to the extent that some folk, even on close inspection, thought that it was metal!). However I had a nightmare with it because it doesn't really appear to harden, meaning that you really shouldn't handle it - not good enough for a cosplay prop. So I thought I'd try out the Halfords stuff and it appears pretty good. It's not going to fool anyone up close but that's not really a deal breaker.


Next was the hilt. Now this was a nightmare simply because there really is no reference for it. Every shot of the damned thing is covered up by the character's hands. The only clear shot of it is in the plans where it's a sort of strawberry icecream pink and I'm really not convinced that's the colour it's supposed to be. You can see a glimpse of it in one of the original ref pics I had and although it's only a coupld of pixels, it appears to be a sort of grey-brown:


In the end I went for a red-brown. It was richer and slightly darker than the ref appeared but I felt that the red complimented the hearts and went with the gold better.


Finally I painted a dark brown into the grooves of the hilt and varnished over it to afford it a bit of protection from handling.

I then mixed up a hot pink using Tamiya gloss red, yellow and white and painted in the 'heart' inlays on the blade. The pink tip on the pommel was a bit of artistic license but I felt it balanced out the pink on the blade.

The finished sword can be seen in the first post.

Save the Queen Sword: 'From page to prop' pt5

The next and final stage of the build was the decorative leaf pieces on the sides of the crossguard.

I needed two large pieces that curve outwards and eight (2x4) smaller pieces that curve inwards. I also needed 2 identical decorative pieces for the pommel I figured that the best thing to do was to cast as many of them as possible.

I didn't really want to go to the trouble of a two-part mold for the pieces - particularly as I was getting low on rubber and I was almost maxed out on budget. So, I decided that I could get away with firstly hand-sculpting the two larger pieces out of Milliput:


Concerned that it would be quite brittle and fragile, I reinforced them with thick wire, figuring that if they did snap, at least they'd stay where they are for later repair.

Next I sculpted the other pieces from plasticene. I decided that as long as I curved the outer surface, the inner one could remain flat (even if I had to sand in a curve later) meaning that I could cast them in a 1-piece bed mold:


I then Araldited them in place and used car body filler to blend them into the crossguard:


The decorative piece for the pommel I did in two halves so that I could cast them flat and then 'bend' them slightly over the curve of the pommel once they were fitted:   


For the collar I rolled out milliput to the right thickness and then araldited it in place and blended it using car body filler.


The sword was now fully assembled. It required some work to tidy up all the rough edges but it was nearly ready to paint.


Save the Queen Sword: 'From page to prop' pt4

Fill Sand Fill Sand Fill Sand Fill Sand.....


The crossguards needed a LOT of tidying up. If I'd had the resources, I might have polished up one and then made a new mould from that so that I'd get two clean casts that didn't need tidying. Unfortunately, I was out of silicone and so I had to spend a great deal of time filling, spraying and sanding until the surface was glassy smooth - or close enough, anyway.

I then spent a week or so doing bits here and there.
The main bulk of the sword was assembled and filled in.

I still needed to add the decorative leafy bits. After that it's time to tidy and polish before painting it.

One thing I didn't forsee and should have, really: It's HEAVY!


Friday, 22 March 2013

Save the Queen Sword: 'From page to prop' pt3

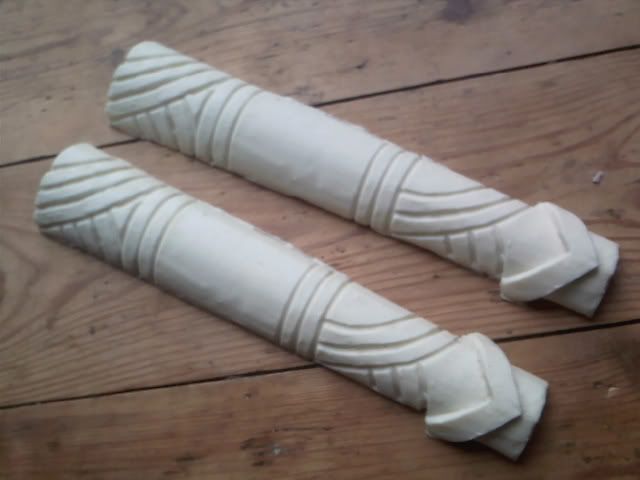
So, next up was the hilt. Once again, I decided to sculpt one side and cast two halves.

As before, I sculpted the piece from plasticine:


I then boxed it in and this time I remembered the vaseline! Yay! \0/


However it made absolutely no difference. The plasticene partially stuck to the silicone in exactly the same way and had to be largely destroyed upon demolding. :/ I'm thinking it's more that plasticene isn't the best stuff to mold with. Note to self for future projects.

The mold did, however scrape clean rather well and I slush cast the hilts to keep them hollow so that they could fit around the tang.


Trouble is, the tang needs to be considerably reduced in order for them to fit and I'm concerned that this might weaken it. I think as long as it's all solid and glued firmly, the outer resin shell should help to re-strengthen it. We'll see.

Anyway, the hilt halves came out quite well. Here they are and also in situ with the blade and crossguard.


Now for a LOT of cutting, fitting, swearing, filling and sanding.

Save the Queen Sword: 'From page to prop' pt2

The crossguard was going to prove tricky. It's quite a complex shape and required some thought about which piece was doing what and where. It's difficult to read certain aspects from the plan and it's also difficult to see in the blurry ref images.

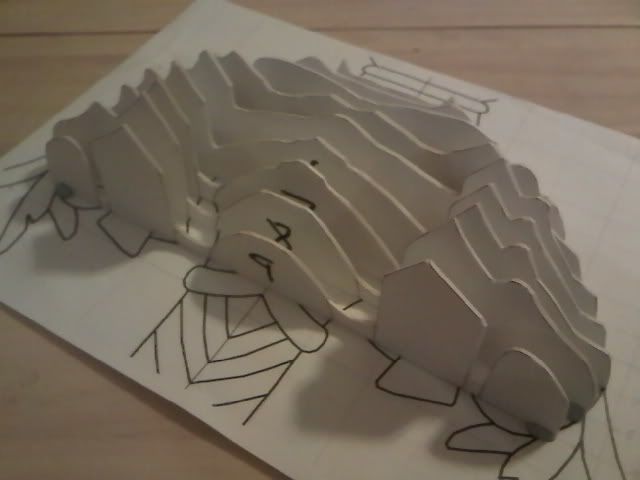
After some scribbling, I had what I thought was a plan but the idea of sculpting the thing from scratch was daunting. Sculpture has never been one of my stronger skills and sculpting highly accurately and symmetrically? I wasn't sure I was up to the job. Some well-intentioned folk suggested a 3D printer but that would have been absurdly expensive. There was another way, though. I figured that if I modelled the crossguard in 3D, not only would it give me a much better understanding of the shape but also provide me with something from which I could acquire accurate cross sections. I thought, what if I could build up the base shape of the crossguard first? Like I've seen folks doing on big sculptures, create card cross sections, fill with expanded polystyrene and skim clay over the top. That would help a lot.

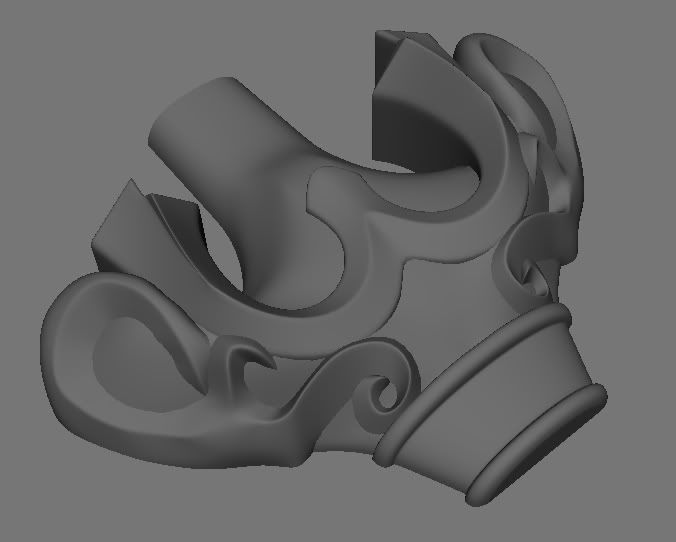
First of all I modelled the crossguard in 3D in Maya - this was easy. I'm a 3D artist for a living:


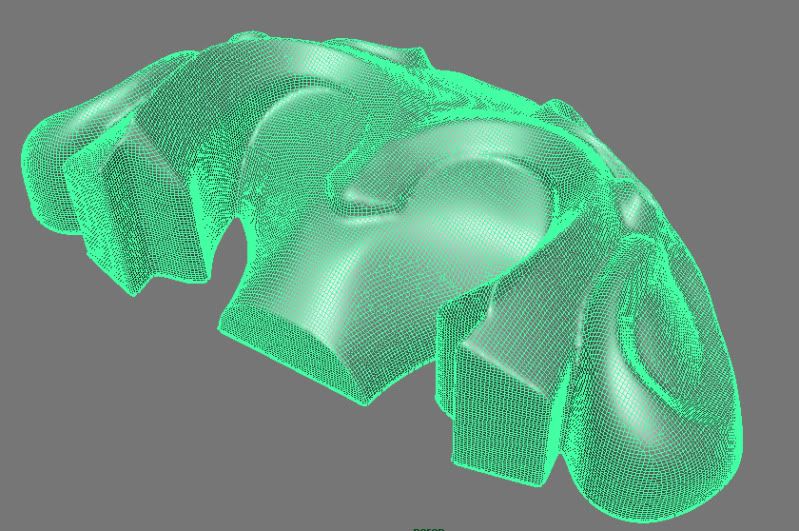
I then took it into Z-Brush and 'dynameshed' it. This rebuilds the mesh as a single, continuous piece without any pieces clipping (this is essential for the boolean process later to work). However, in order to keep the shape from deteriorating, it needs to be a very high resolution mesh.


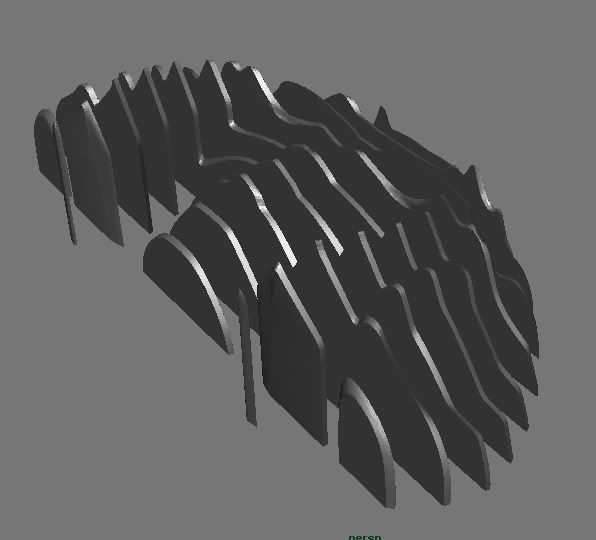
I then took that back into Maya and using the Boolean tool, converted the mesh into ten slices, half an inch apart:


Using these slices I was able to take screengrabs and in Photoshop, scale them using measurements taken from the plans, print them out, stick them onto Mounting Board for rigidity and construct them into a basic shape:


Once I had the card cross-sections, I used two guides I cut from MDF (11mm thick - half an inch minus 2mm to account for the thickness of the mounting board) to roll out sheets of plasticene to an exact and uniform thickness. I then placed a template over the top, cut around it and put it back in the array:


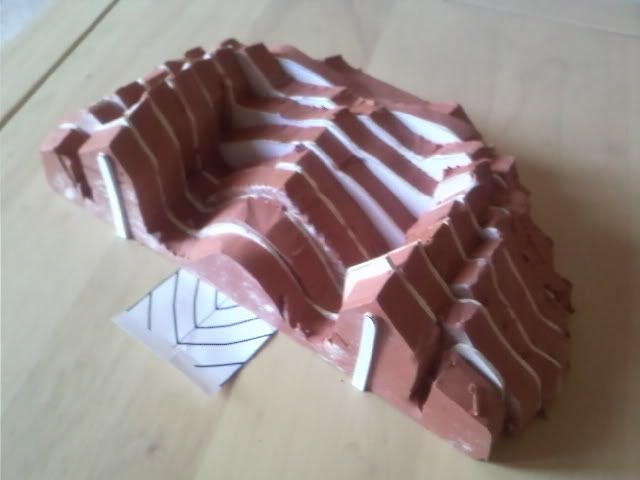
Once that was done, I took a sculpting tool and started to cut off the excess between the cross sections. With that complete I was beginning to see the shape of the crossguard emerge. I was surprised at how well this worked. It was rough, sure but I could clearly see the broad shapes and in some places even curves. I began applying a top layer of Plastilene. Not sure what the difference is between that and Plasticene but as it's designed for sculpting and using with Silicone moulds, I guessed it was best to use as a surface. Besides, I have a huge block of it lying around from years ago. It's about time I used it:


After many hours of fussing and faffing and scraping and smoothing I have this:


Which still needs much work but I'm quite pleased with it and relieved it's turned out okay so far.


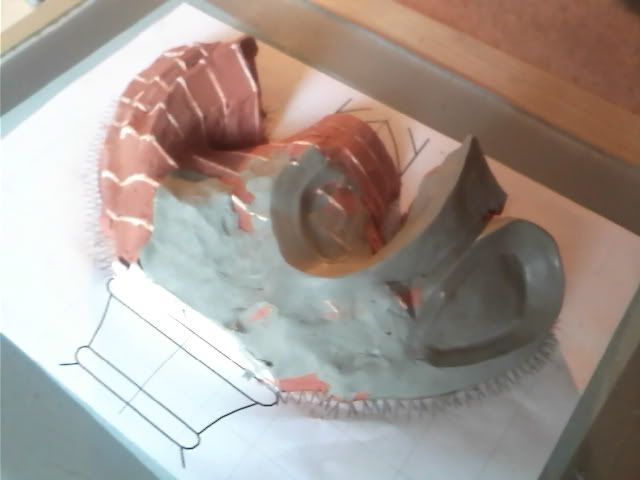
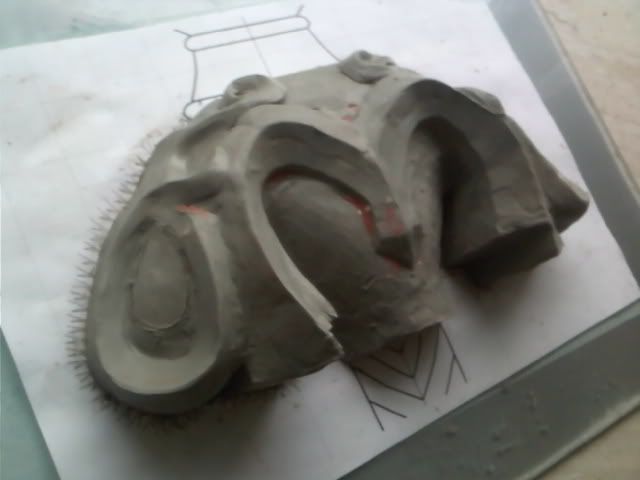
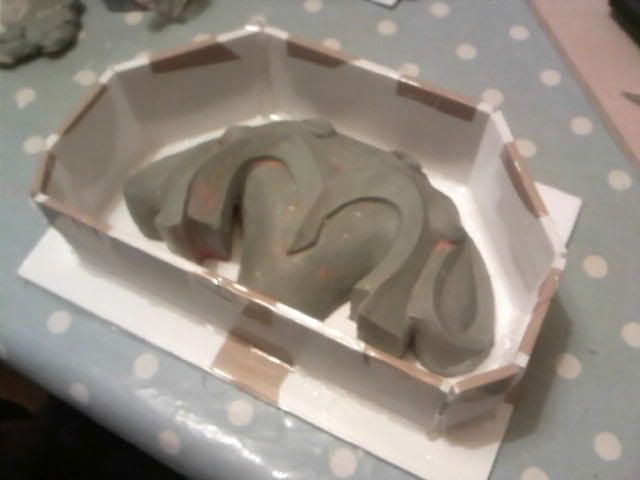
After many more hours of scraping and fussing and measuring and more scraping, I finally got the crossguard sculpt to a point that I was satisfied with and created a mould box for it.


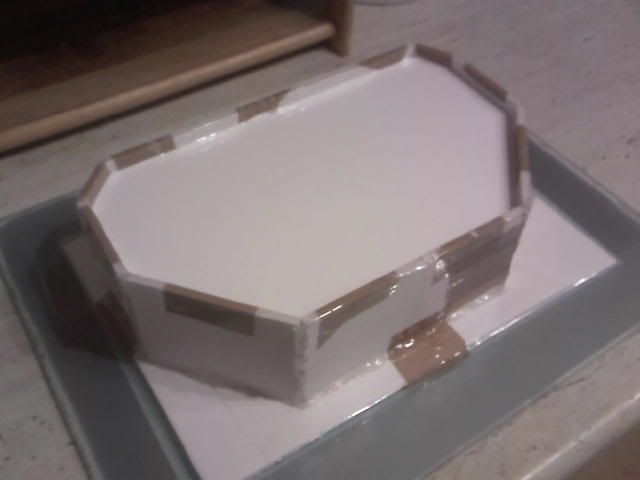
The box is a bit of an experiment. Previously I've used Lego to create boxes and sealed them with plasticine. However, this is a much bigger object than I have experience with and I wouldn't have had enough lego even if I still had it. So something else was required. I briefly considered building up a plasticene wall but I don't have enough. Faced with the option of having to buy whatever it was that I was going to build the box out of, I decided that the sensible thing to do would be to research the best method and buy the appropriate materials.
A quick search of these boards suggested the use of foam core sealed with a hot glue gun. I purchased these items and set about constructing the box. I was a little worried that the silicone would seep through the foam core. It probably wouldn't but to be on the safe side, I laminated the interior surface with some sticky-backed plastic I had to hand to make it 'water' proof.

The box was simple to construct and once glued in place felt pretty solid.

I then mixed up and poured the silicone.


Having poured about 10% of the rubber, just as the sculpt disappeared beneath a veneer of white, it suddenly occured to me that I hadn't coated it with vaseline. I cursed myself for an idiot but had to proceed in the hope that it won't be too much of a problem when demoulding. Fingers crossed.

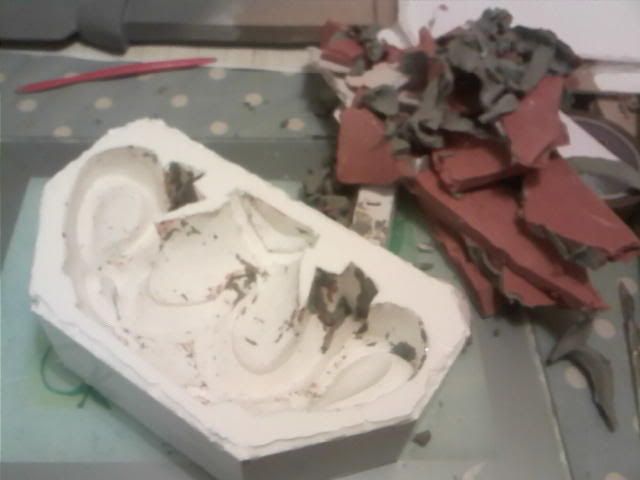
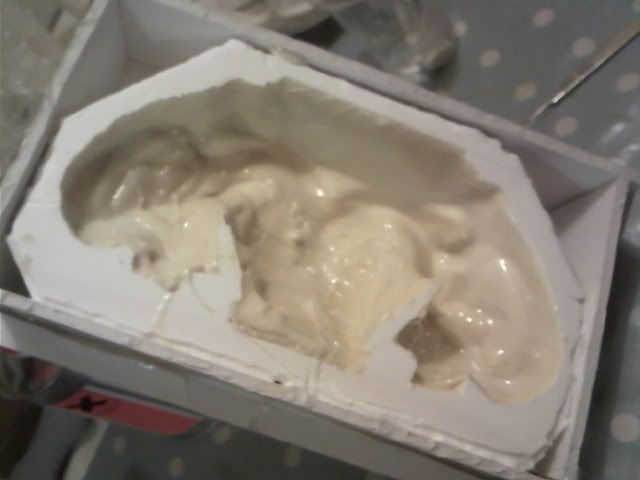
Well, as I feared, not having the vaseline in there has caused the plasticene to stick to the mould in places meaning I had to destroy the sculpt in order to get it out.


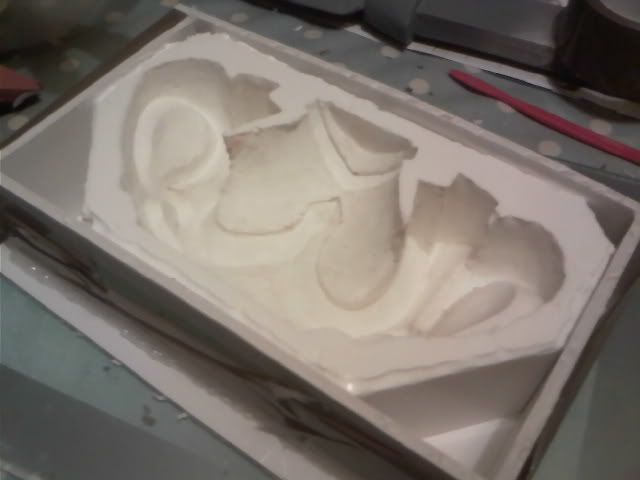
Fortunately the mould is solid and hasn't torn anywhere which is the important thing. I put the mould in the firdge for an hour to try and harden the plasticene in the hope that it would pull out easier. That seemed to help, all that's left in there now are tiny flecks which I can scrape out. It's going to be laborious but maybe I'll remember the bloody release agent next time.

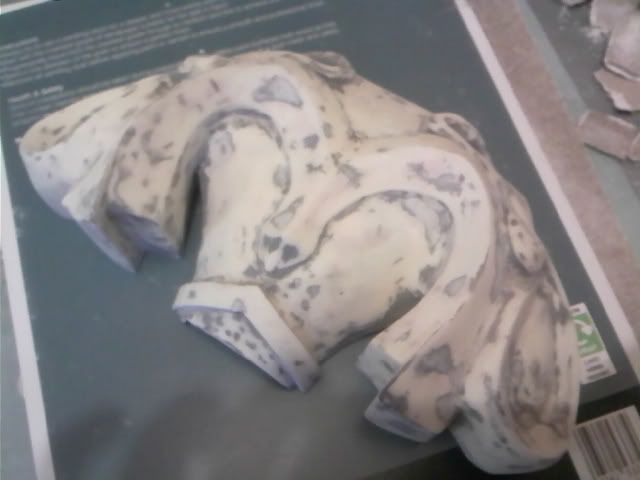
So with some scraping, the mould cleaned up pretty well:


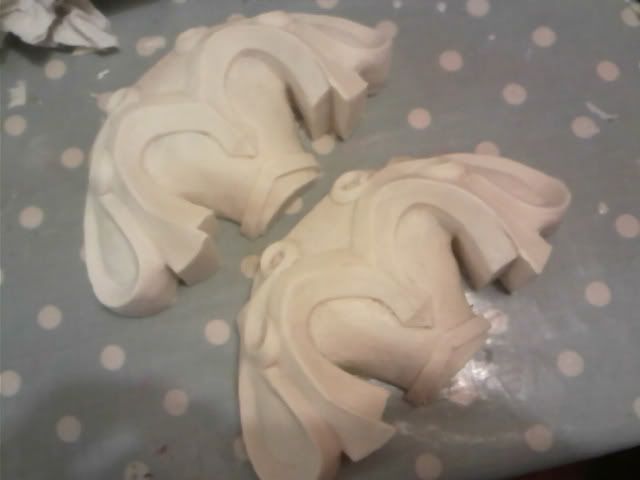
I boxed it up again so that I could roll it about without distorting the mould and then made two slush-casts using G26 BiResin.


They came out quite well, I think. They need a lot of tidying but I'm quite pleased with them.


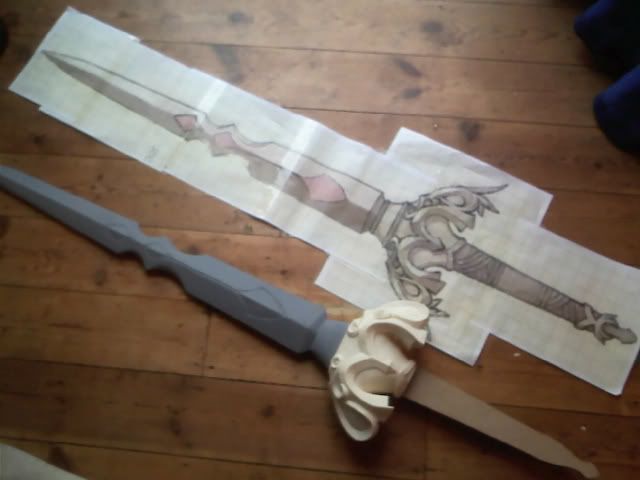
And here in situ with the blade: