After some scribbling, I had what I thought was a plan but the idea of sculpting the thing from scratch was daunting. Sculpture has never been one of my stronger skills and sculpting highly accurately and symmetrically? I wasn't sure I was up to the job. Some well-intentioned folk suggested a 3D printer but that would have been absurdly expensive. There was another way, though. I figured that if I modelled the crossguard in 3D, not only would it give me a much better understanding of the shape but also provide me with something from which I could acquire accurate cross sections. I thought, what if I could build up the base shape of the crossguard first? Like I've seen folks doing on big sculptures, create card cross sections, fill with expanded polystyrene and skim clay over the top. That would help a lot.
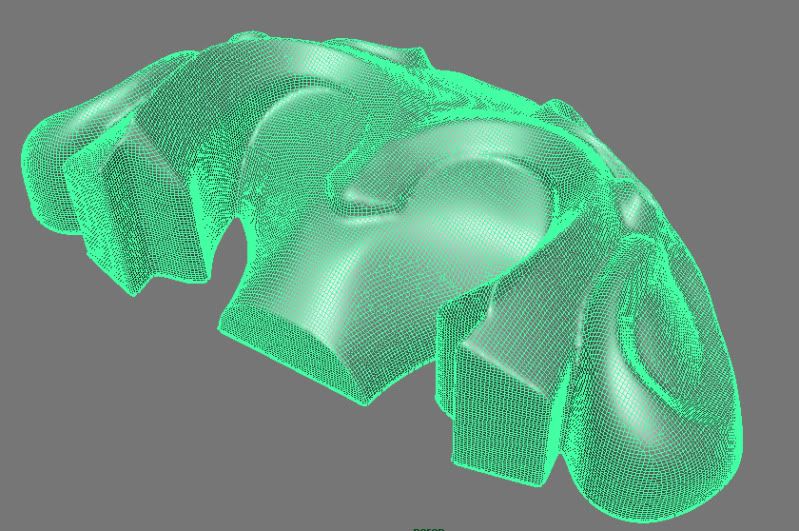
First of all I modelled the crossguard in 3D in Maya - this was easy. I'm a 3D artist for a living:
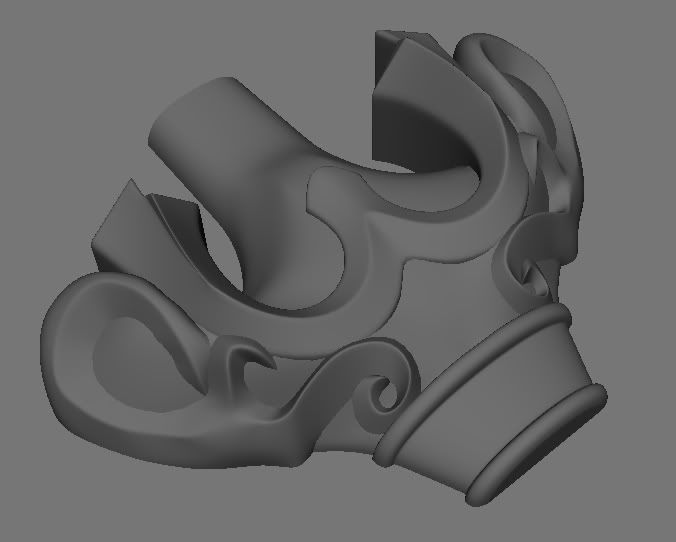
I then took it into Z-Brush and 'dynameshed' it. This rebuilds the mesh as a single, continuous piece without any pieces clipping (this is essential for the boolean process later to work). However, in order to keep the shape from deteriorating, it needs to be a very high resolution mesh.
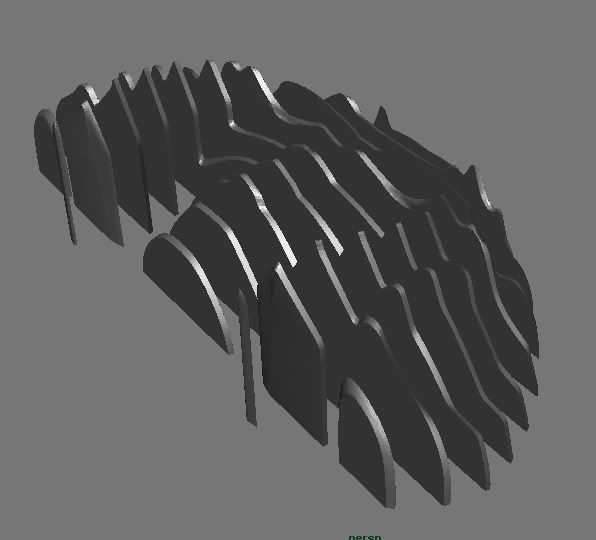
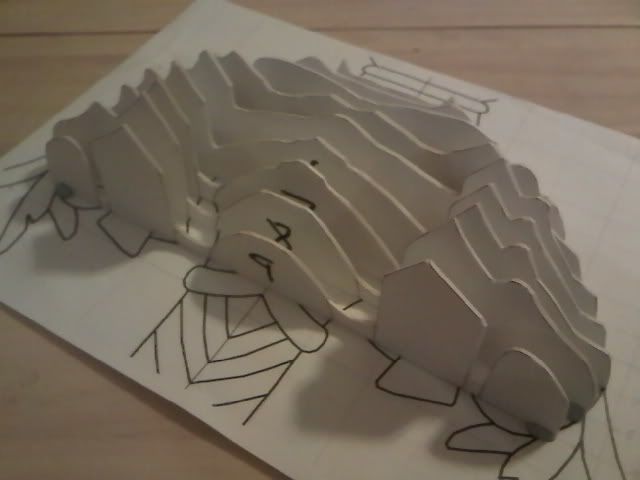
Using these slices I was able to take screengrabs and in Photoshop, scale them using measurements taken from the plans, print them out, stick them onto Mounting Board for rigidity and construct them into a basic shape:
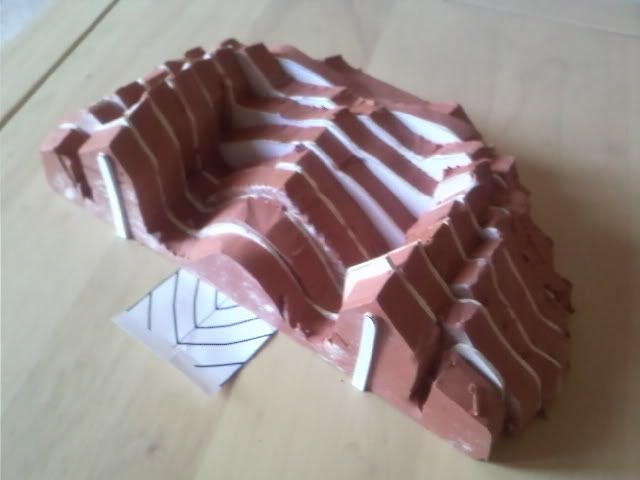
Once I had the card cross-sections, I used two guides I cut from MDF (11mm thick - half an inch minus 2mm to account for the thickness of the mounting board) to roll out sheets of plasticene to an exact and uniform thickness. I then placed a template over the top, cut around it and put it back in the array:
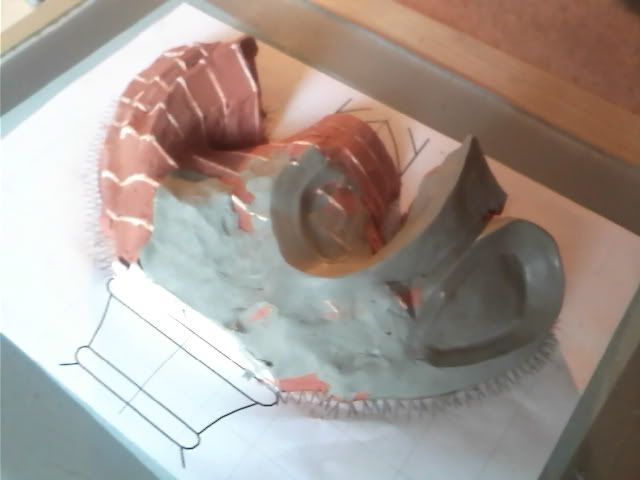
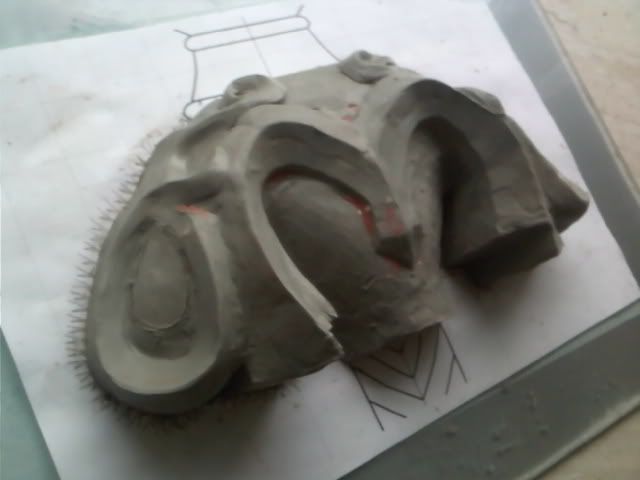
Once that was done, I took a sculpting tool and started to cut off the excess between the cross sections. With that complete I was beginning to see the shape of the crossguard emerge. I was surprised at how well this worked. It was rough, sure but I could clearly see the broad shapes and in some places even curves. I began applying a top layer of Plastilene. Not sure what the difference is between that and Plasticene but as it's designed for sculpting and using with Silicone moulds, I guessed it was best to use as a surface. Besides, I have a huge block of it lying around from years ago. It's about time I used it:
After many hours of fussing and faffing and scraping and smoothing I have this:
Which still needs much work but I'm quite pleased with it and relieved it's turned out okay so far.
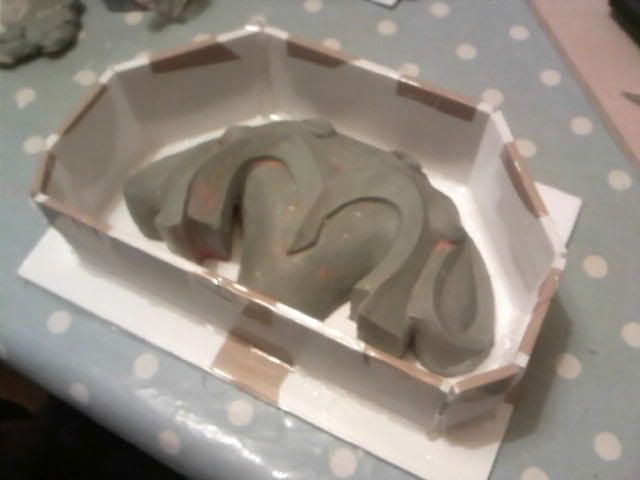
After many more hours of scraping and fussing and measuring and more scraping, I finally got the crossguard sculpt to a point that I was satisfied with and created a mould box for it.
The box is a bit of an experiment. Previously I've used Lego to create boxes and sealed them with plasticine. However, this is a much bigger object than I have experience with and I wouldn't have had enough lego even if I still had it. So something else was required. I briefly considered building up a plasticene wall but I don't have enough. Faced with the option of having to buy whatever it was that I was going to build the box out of, I decided that the sensible thing to do would be to research the best method and buy the appropriate materials.
A quick search of these boards suggested the use of foam core sealed with a hot glue gun. I purchased these items and set about constructing the box. I was a little worried that the silicone would seep through the foam core. It probably wouldn't but to be on the safe side, I laminated the interior surface with some sticky-backed plastic I had to hand to make it 'water' proof.
The box was simple to construct and once glued in place felt pretty solid.
I then mixed up and poured the silicone.
Having poured about 10% of the rubber, just as the sculpt disappeared beneath a veneer of white, it suddenly occured to me that I hadn't coated it with vaseline. I cursed myself for an idiot but had to proceed in the hope that it won't be too much of a problem when demoulding. Fingers crossed.
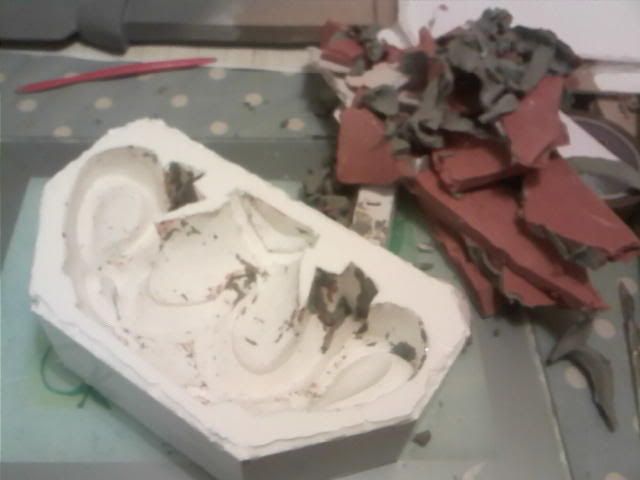
Well, as I feared, not having the vaseline in there has caused the plasticene to stick to the mould in places meaning I had to destroy the sculpt in order to get it out.
Fortunately the mould is solid and hasn't torn anywhere which is the important thing. I put the mould in the firdge for an hour to try and harden the plasticene in the hope that it would pull out easier. That seemed to help, all that's left in there now are tiny flecks which I can scrape out. It's going to be laborious but maybe I'll remember the bloody release agent next time.
So with some scraping, the mould cleaned up pretty well:
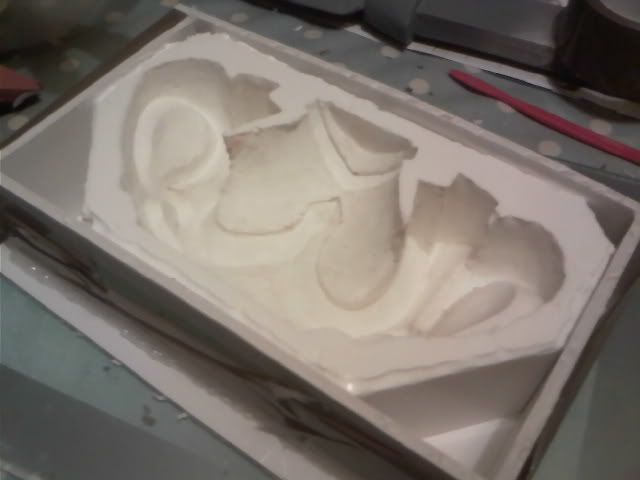
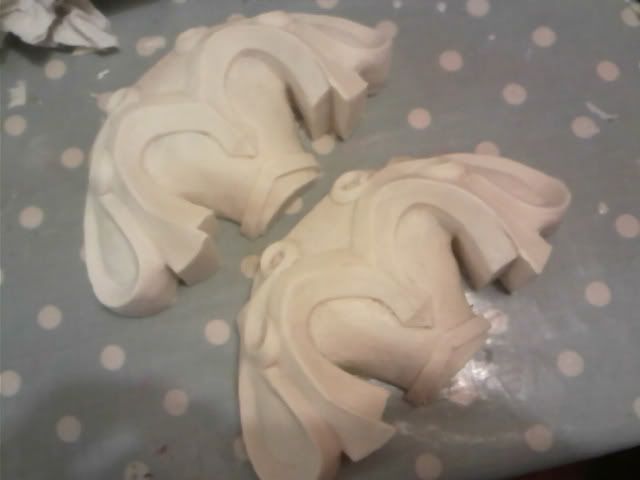
I boxed it up again so that I could roll it about without distorting the mould and then made two slush-casts using G26 BiResin.
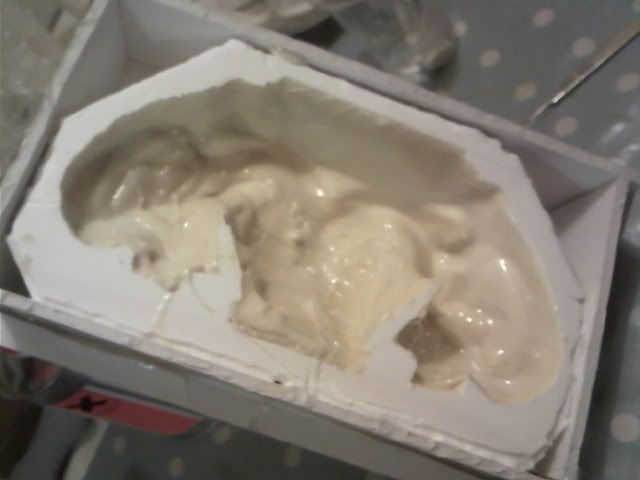
They came out quite well, I think. They need a lot of tidying but I'm quite pleased with them.
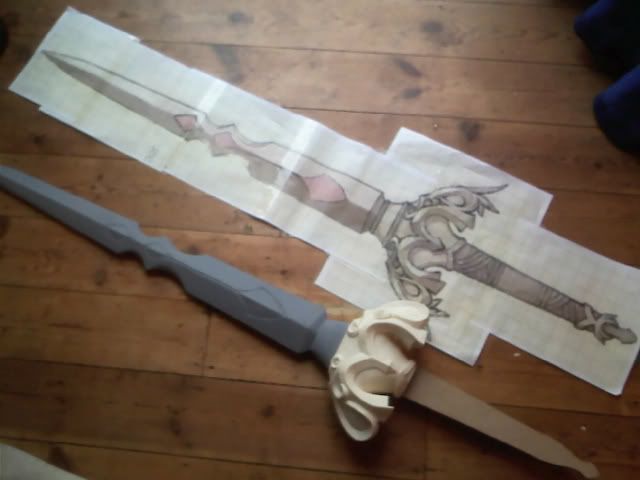
And here in situ with the blade:
No comments:
Post a Comment